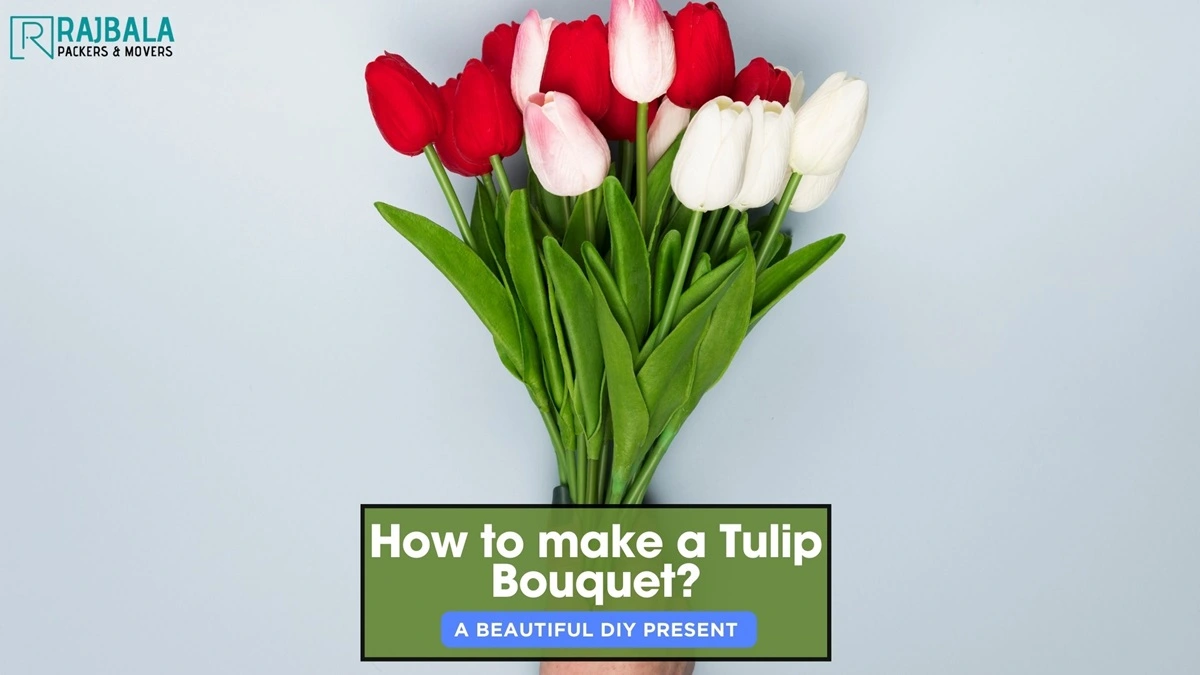
Are you a spring person too? We are talking about the spring season. What is it that you think of when you hear about spring season? Streets filled with beautiful flowers? Perhaps you relate to the color pink or even a blossom tree. Let’s be honest, what is there to not love about spring? One such beauty of the season spring is the Tulip flower. The most breathtaking flower yet very simple. Are you eager to find out how to make a sensational tulip bouquet? Read along.
Tulip is also famously known as Guldasta locally. Frankly speaking, it is rather easier to make a tulip bouquet by yourself than buy, one since we all know, flower bouquets don’t come cheap. And, let’s face it, making a tulip bouquet can turn out to be the best DIY present you make for yourself or your loved one, making it an eternal symbol of love. Without further ado, let us find out all that there is to make a tulip bouquet.
How to make a Tulip Bouquet?
Make sure to follow these below-mentioned steps carefully, to make yourself a sensational tulip bouquet.
Step 1: Choose the perfect color
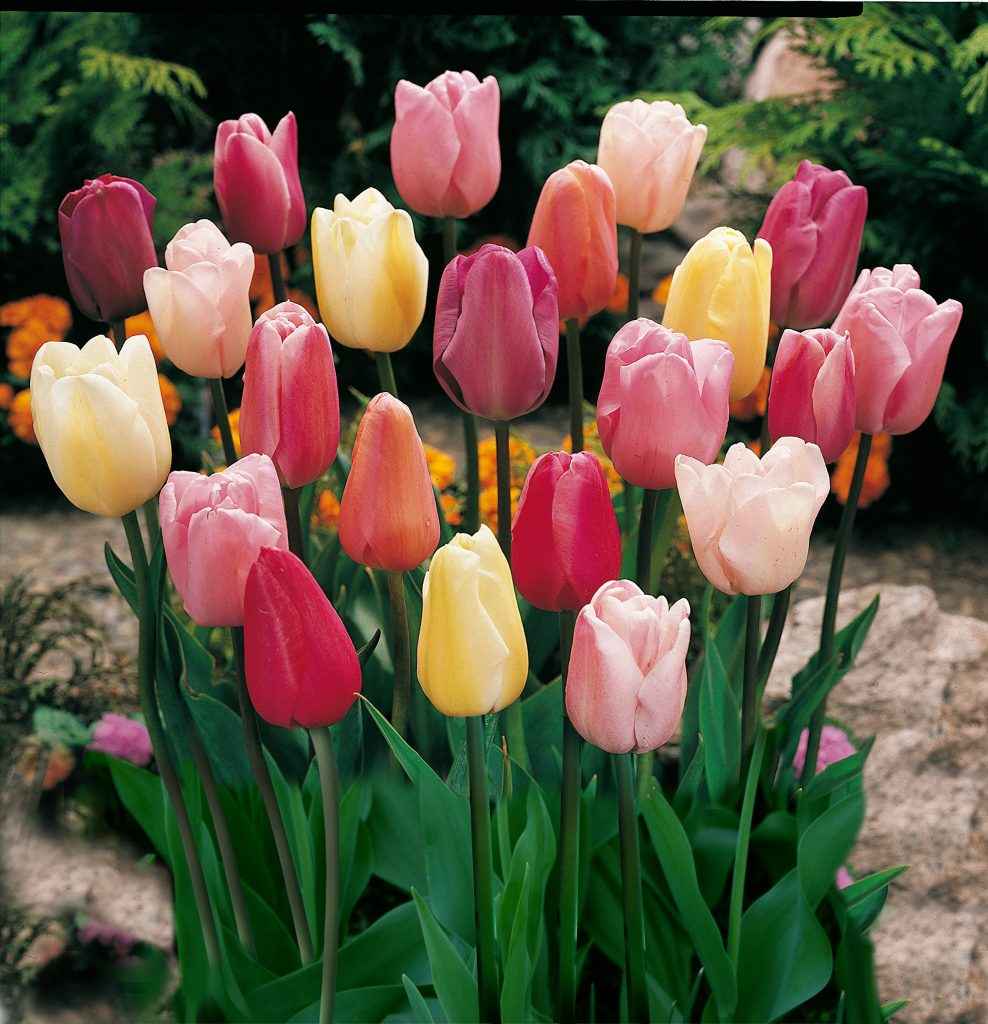
The first and foremost step is to choose the perfect color. Your favorite Guldasta comes in a variety of colors ranging from Red, Orange, Yellow, Purple, White, Pink, and Blue. Choose the color that you think will be the perfect fit for your house. You can go about making the tulip bouquet in three ways:
- Choose a single color from a variety
- Mix any two contrasting colors
- Add each color of tulip and maybe try a hand at a colorful tulip flower design bouquet.
Step 2: Thorough Cleaning
Give a proper wash to the tulip flowers before making the tulip bouquet. Doing so can help remove any dirt or stains, even worms if any, and give a fresh and brand new look to your bouquet. You can either opt for a quick wash under the tap or soak them for 1-2 minutes in water.
Step 3: Stock up on materials
To make the tulip bouquet by yourself, you need a list of supplies to help you throughout the process. Here’s a basic list of what you may need:
- Florist Scissors
- Firm Brown Paper or (Any other alternative)
- Cello Tape and Threads/strings
- Fancy Satin Ribbon
- Greeting Card
Step 4: Making the Tulip Bouquet
Stepping into the final phase, the below-mentioned series of steps are the ones you need to follow to bring together your tulip bouquet.
- Bind all the tulip flowers together: Make them one cluster of flowers.
- Tie up the tulip flowers: To prevent the flowers from losing their shape in the tulip bouquet, tie the bottom-most part of the stem with a thread or string which will help them to stay in place inside the bouquet.
- Adjust the length: You need to alter the length of stems of the tulip flower, to make them all equal in length. This needs to be done because once the wrapping paper goes around, the stems need to hide inside.
- Wrap the bouquet: You need to place a paper around the flowers, you have just made alterations to. This step will give the tulip bouquet a beautiful appearance,
- Bring the bouquet together: Fix the flowers and the wrapping paper to the bouquet with the help of cello tape.
- Fix a greeting card: Write up a personalized greeting card, with the message you want to send.
Finally, you have a beautiful tulip bouquet in your hands. Feel free to add any finishing touches or don’t be afraid to get creative.
Do’s and Dont’s for Tulip Bouquet
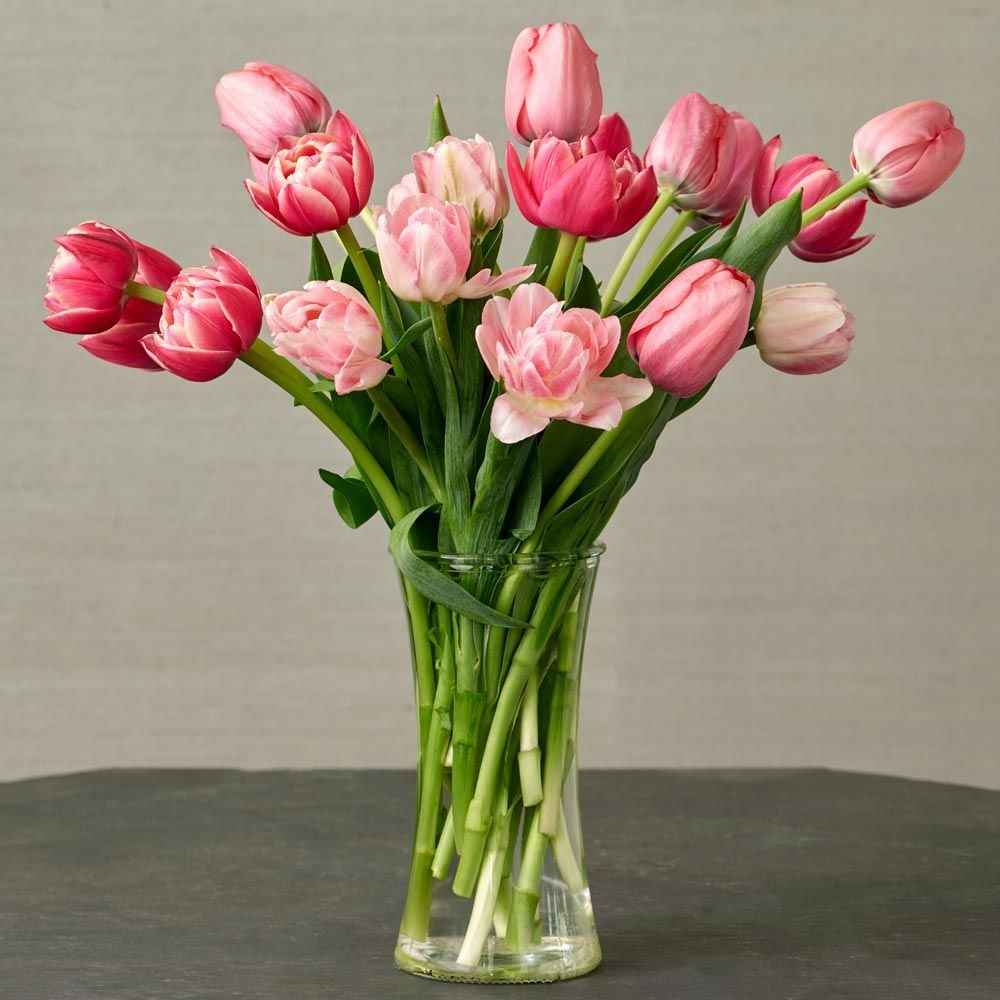
1. Do place the tulips in a vase, and keep the bouquet in a good-quality vase. If possible, invest in a glass vase.
2. Do prune or trim or cut the stems to ensure healthy keeping. The recommended angle for cutting is a 45-degree angle.
3. Do use fresh and crisp cold water inside the vase.
4. Do change the water regularly to maintain hygiene and freshness.
5. Don’t place them in direct exposure to sun rays.
6. Don’t mix tulips with other flowers such as Daffodils or Narcissus, as tulips are highly sensitive.
Also Read: Home Tools: Essential Gear for Every Homeowner
How to plant tulips?
There are two separate ways or methods in which you can plant the tulips and grow them in your very own garden or backyard.
1. In FlowerBed
By following the procedure mentioned below you can be a proud owner of these beautiful guldastas
1. The Ideal Time
The perfect time to plant the tulip flowers depends on which part you live in:
NORTH: For people living in the northern states, the best time is late September.
SOUTH: If you reside in the southern states, the ideal time would be during December.
Now, the general rule to follow, irrespective of where you live is to plant 4-6 weeks early before the winter hits and the ground starts to freeze.
2. Pick the spot
You need to choose an appropriate spot that gets enough sunlight but not too much. Look for spaces, that get the first sunshine of the day and last all day long.
3. Dig the hole
Make sure to dig a hole of the right size before planting. You need to dig the hole, three times the size of the tulip bulbs. You need to pay attention while panting, they must be planted facing upside, i.e., their pointed end should be facing the sky. Plant them 6-8 inches in depth and 4-6 inches away from each other.
4. Fertilizing
It is recommended to fertilize the tulip bulbs with a slow-release bulb fertilizer. Make sure to read the instructions of the fertilizer chosen before applying.
5. Watering
Tulips require very little watering. You need to water them sufficiently after you finish planting them. Later you are only required to water when they start to sprout.
2. In Flower Pots
To grow the tulips in flower pots, here’s what you need to do:
1. Pick the pot: Choose the perfect flower pot. The chosen pot needs to have proper draining facilities. You cannot let your tulips sit in water for long, so you must pick a suitable flower pot.
2. Plant the Tulips: You can now move on to planting the bulbs. You need to plant the bulbs an inch apart from each other. Planting in pots is considered more eye-catching and beautiful.
3. Fertilize well: This step goes without saying, that you need to ensure proper fertilization based on the requirement of the plant.
4. Water Sufficiently: You need to set a watering schedule, again depending on the requirement of the plant.
5. Adequate Sunlight: Place the pots in areas that will receive a sufficient amount of sunlight.
So, that sums it up. You can grow your own tulip variety by following these steps and choosing a method you think is best for you.
Explore more about Gardening
| Dieffenbachia Plant | Dieffenbachia Plant |
| Less-Maintenance Plants | Less-Maintenance Plants |
| Best Garden Hose | Best Garden Hose |
| Citronella Plant | Citronella Plant |
| Lawn Grass | Lawn Grass |
| Brahma Kamal in Vastu | Brahma Kamal in Vastu |
Final Thoughts
So, there you have it readers, the complete crash course on DIY tulip bouquet and grow your tulip bouquet flower. While gardening is not a piece of cake, whether it’s making a bouquet of planting a new variant, it takes a significant amount of time and effort. But we assure you, if you follow the tips and suggestions we have curated for you in this blog, it really should feel like a piece of cake. Besides, let’s be honest making a gift of something you grew with your own hands holds a greater sentimental value than any other expensive piece of present. Apart, from using tulips as a means of the present, they are a great addition to your house space and garden, which will always provide a fresh and calm environment. So, what are you waiting for? plant your tulips and make a tulip bouquet today!
Now, that you have mastered the art of DIY tulip bouquets, if you are looking for a master in moving services, look no further. Check out Rajbala Packers and Movers for the best packing and moving services in town. Get a free quote today!